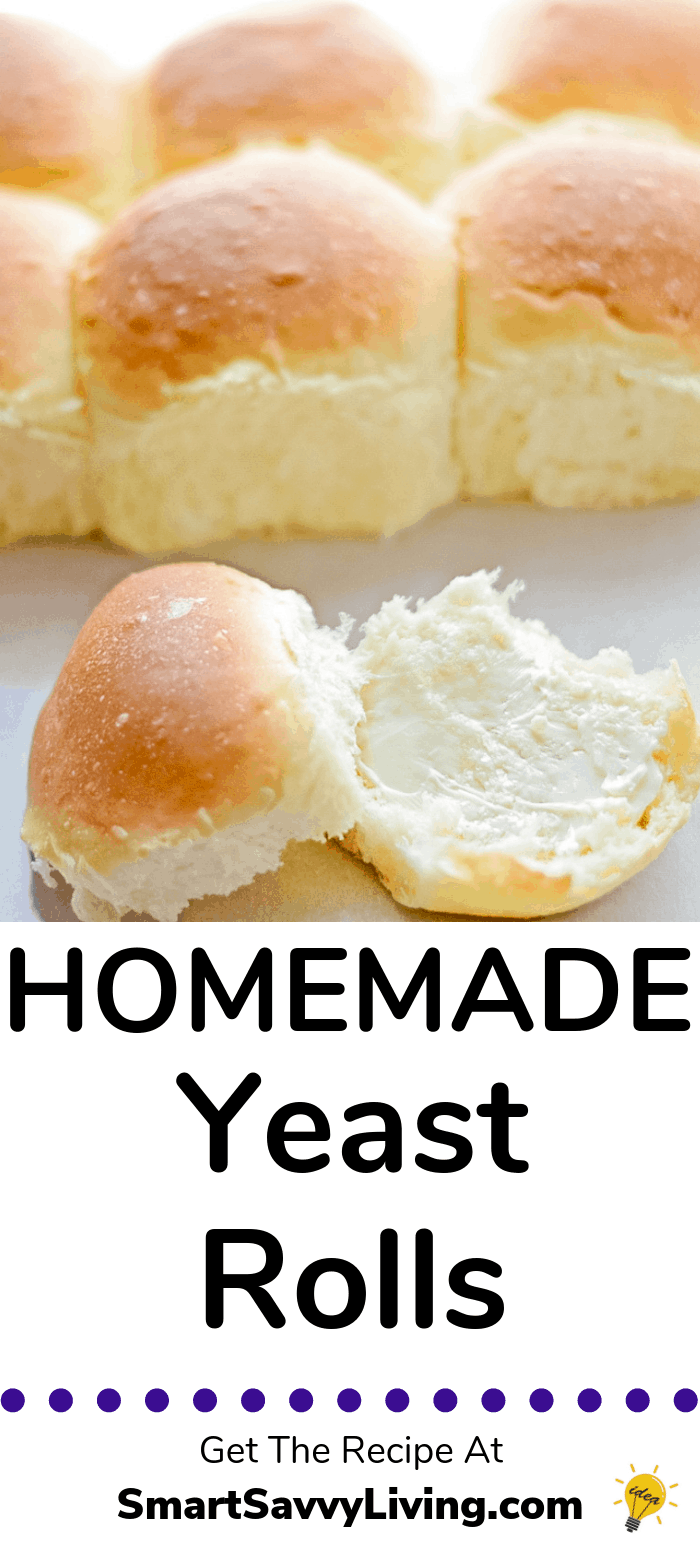
I've been making this Homemade Yeast Rolls Recipe for years now and it's never failed the multiple times I've made it. And believe me, I had a lot of failures before this yeast roll recipe!
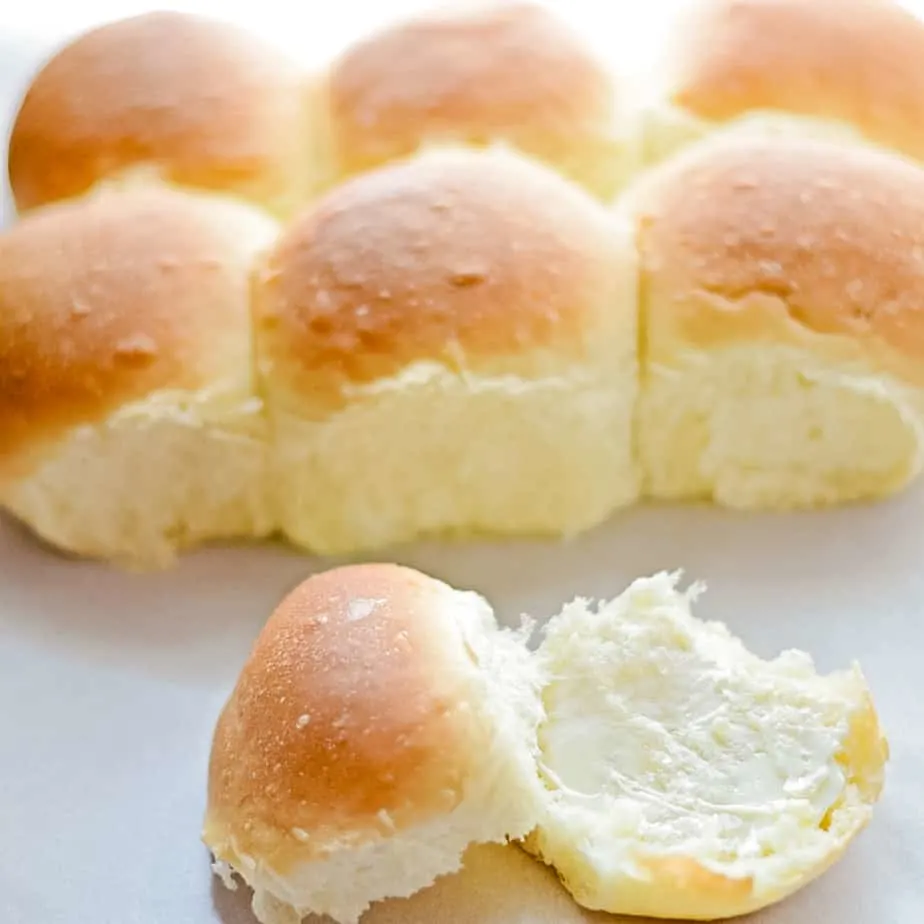
To me, there's not much better in the food indulgence realm (outside of desserts, of course) than freshly made bread. Bread still just slightly warm from the oven and topped with a good helping of real, creamy butter.
I'm sorry if you now have to buy a new keyboard from all of the drool. ;) Since I shared 15 yeast and bread making tips yesterday, I thought it was only fair that I now share my favorite Homemade Yeast Rolls or Bread Recipe.

I've tried a variety of homemade yeast rolls recipes over the years. Some were okay but still rather meh, others were a complete fail.
But, this yeast roll recipe has been just about perfect each time I've made it - which is likely on average of twice a month for the past six years. Yeah, it's that good.
It's absolutely become a must for Thanksgiving, Christmas, and any special occasion. Our guests we have over for a meal are always so impressed when I serve these rolls made from scratch.
Related: 10 Tips to Keep Your Thanksgiving Organized and Stress-Free
My favorite part of this homemade rolls recipe is that it doesn't use fancy flours. Just regular all-purpose flour that most of us always have on hand.
My second favorite part is that it is a truly versatile dough. I've turned this dough into a variety of rolls (like these cloverleaf rolls), but also loaves and even boules.


Soft Dinner Rolls Ingredients
- 1 packet of dry yeast (or 2 ¼ teaspoons if using bulk yeast) - see notes below on types of yeast you can use
- ¼ cup warm water - not hot, should be around 105-115°F or comfortably warm to stick your finger in for several seconds
- 1 cup milk (I always use whole milk) - you can use skim milk or milk alternatives, though it may slightly alter the richness and taste
- 4 tablespoons (¼ cup) unsalted butter
- 1 large egg, beaten
- 2 tablespoons honey or granulated sugar - though there is sweetener added, this amount doesn't produce a sweet yeast roll like you would find with a Hawaiian variety
- 1 teaspoon table salt (we like saltier bread than most so I personally use 2 teaspoons sea salt)
- 1 cup + 2 cups all-purpose flour + more for kneading (you'll likely use 4 or more cups by the end) - I've made this recipe successfully no matter the brand used including King Arthur (my preferred), the bulk brand at Costco, Gold Medal, and Aldi brand. I have not tested this recipe with bread flour.
- Oil or non-stick cooking spray
- Softened butter - Kerrygold is my go to
Active Dry Yeast Versus Rapid Rise Yeast
Active dry yeast is a yeast that needs to be bloomed, or dissolved in warm water and set aside until it begins to form bubbles. It can then be incorporated into the recipe.
Rapid rise yeast, or instant yeast, or quick rise yeast, doesn't need to bloom and can be added straight to the other ingredients.
Instant yeast also usually has ingredients added to help doughs rise faster. You can sometimes even skip the first rise.
With rapid rise yeast, you usually don't need quite as much yeast as when you're using active dry yeast. But, you should be able to use them interchangeably in most recipes, including this one.
Just be sure to keep an eye on the dough as it is likely to rise faster and you can over proof your dough.
I personally almost always use regular active dry yeast. I have a bulk bag I've kept in the freezer for years and like proofing (blooming) the yeast to make sure it's still alive, which you can still technically do with instant yeast.
I've also found active dry yeast to produce a bit better flavor, I think due to longer rise times, but I always encourage you to try both and see what you prefer.
Can Homemade Yeast Rolls Be Frozen?
Yes, they can! Here's how I recommend freezing yeast rolls.
- Freeze the dough after it's risen the first time. Just punch it down, wrap in plastic, put in a plastic freezer-safe bag and stick in the freezer. When ready to use, thaw the dough overnight in the fridge, shape, let rise, then bake. This is a good option if you want to have the dough ready to go for various shapes in the future.
- Make the roll recipe through the shaping step. Once the rolls are shaped (you don't need to let them rise), place on a freezer-safe pan in one layer and freeze. Once frozen, place the rolls into a freezer-safe bag. When ready to use, place in an oven-safe dish, cover, and let rolls thaw and rise overnight or first thing in the morning in the fridge. This is a good option if you want the dough ready but only want to bake a few at a time.
- Freeze the baked rolls. Once the rolls have cooled completely after baking, wrap individually or in a group with plastic wrap and place in a freezer-safe bag and freeze. Wrap with foil and reheat in the oven (remove any plastic) from frozen. This is a great way to save leftovers as these rolls reheat in the oven really well.
I've successfully made these homemade yeast rolls by hand many times, but I do now use my stand mixer since I have one. I'm sure it would also work great in a food processor with the dough blade.
I know that the recipe looks super long, but I'm going into specific details for the first-timers. I promise this recipe isn't as overwhelming as it may seem. I'm also including pictures of certain steps at the bottom.
Recommended Equipment
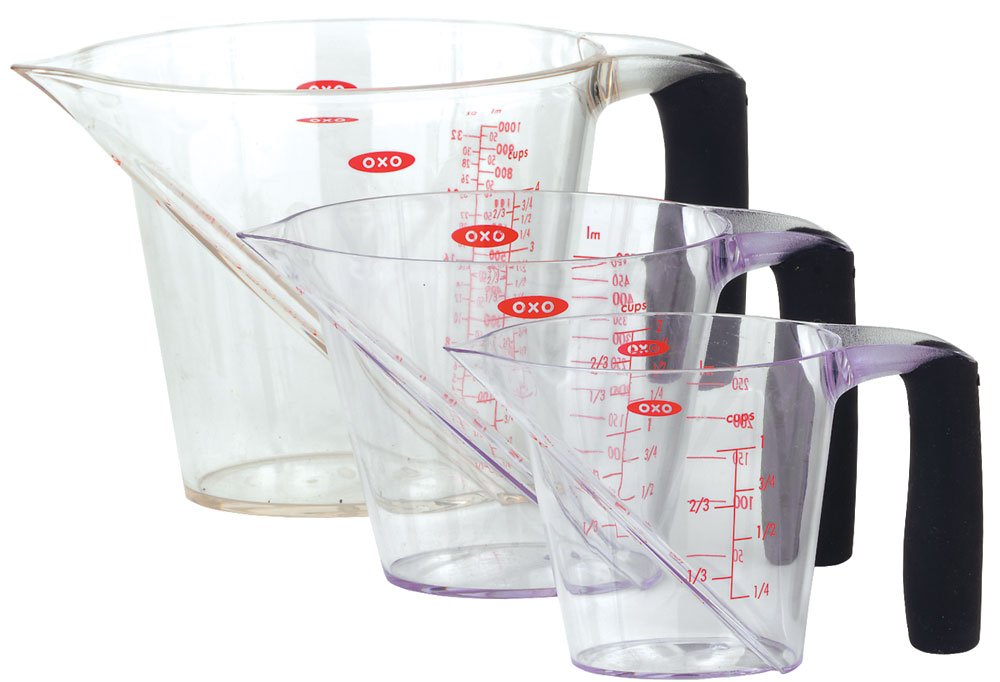
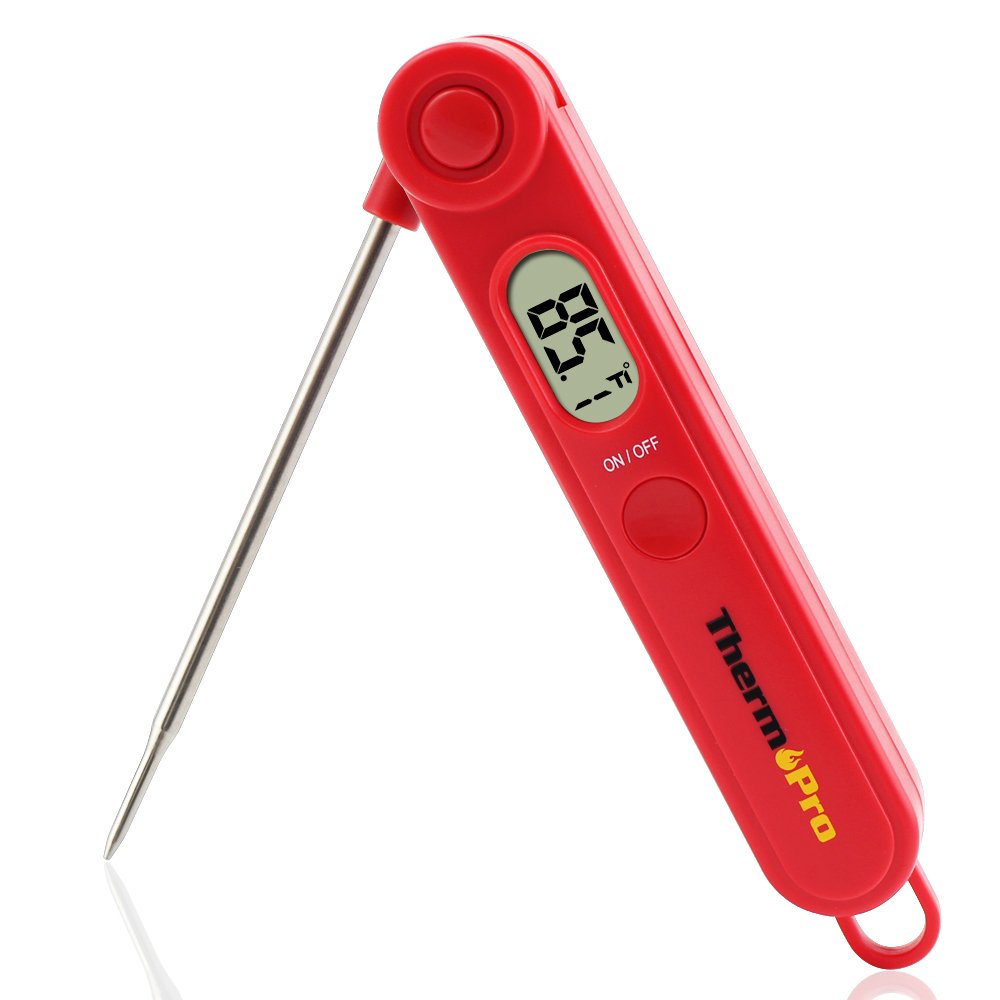
KitchenAid Professional 600 Series KP26M1XER Bowl-Lift Stand Mixer, 6 Quart, Nickel Pearl OXO Good Grips 3-Piece Angled Measuring Cup SetThermoPro TP03A Digital Food Cooking Thermometer Instant Read Meat Thermometer for Kitchen BBQ Grill Smoker
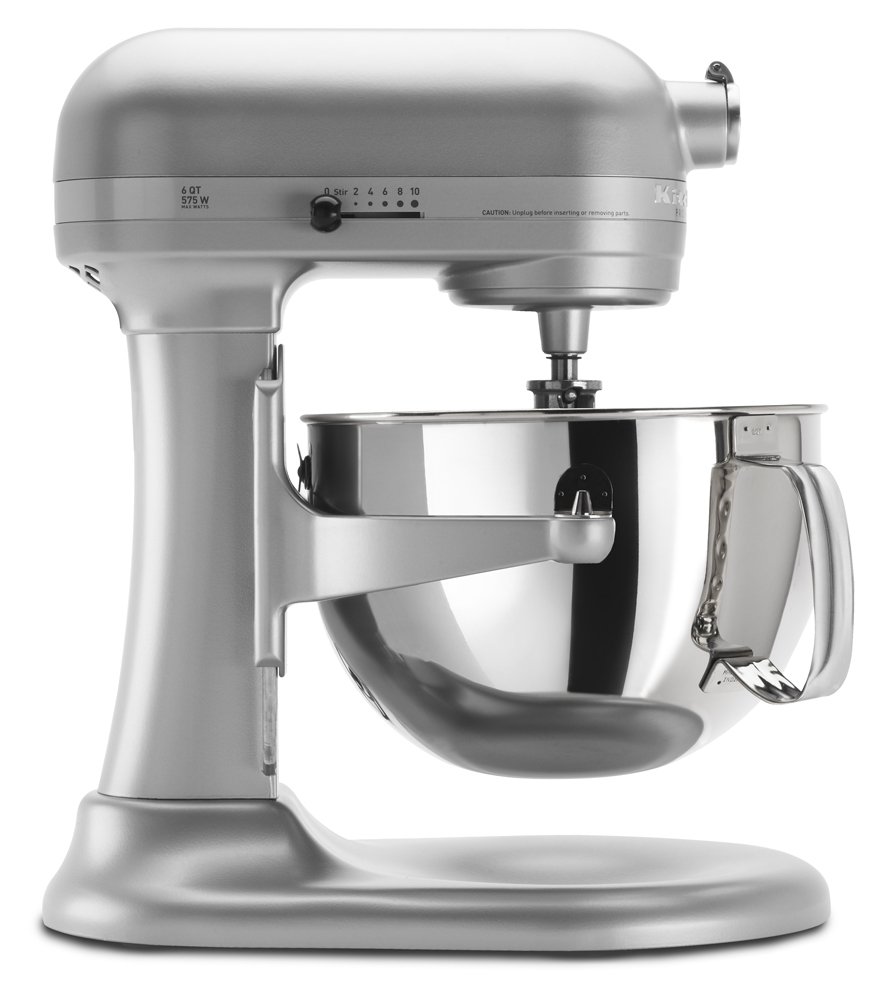
- A stand mixer (you can probably use a 5qt too, but this is the one we own) or Silpat to knead the dough in/on. The Silpats are also great to bake on.
- A good set of measuring cups (I use the 4-cup measure in this set to microwave the milk & butter) and spoons. Baking is a pretty exact science and measurements are important
- A large bowl for the dough to rise in
- A 9 x 13, half sheet, or cake pans to bake the rolls in; or a loaf pan for loaves. I usually don't like non-stick for baking, but these have held up beautifully for over 5 years with hand washing.
- A pastry brush for buttering the top of the rolls and a butter boat as no softened butter ready for these rolls should be a crime ;)
Recipes to Serve This Homemade Yeast Rolls Recipe With
- Roasted Pork Tenderloin with Balsamic Apple Butter Glaze
- Beef Stew with Barley
- Beer-Braised Corned Beef


Homemade Yeast Rolls
This easy homemade yeast rolls recipe is so tasty, you may just want to make it every day.
Ingredients
- 1 packet of dry yeast (or 2 ¼ teaspoons if using bulk)
- ¼ cup warm water - not hot, should be around 105-115°F or comfortably warm to stick your finger in for several seconds
- 1 cup milk (I always use whole milk)
- 4 tablespoons (¼ cup) unsalted butter
- 1 large egg, beaten
- 2 tablespoons honey or granulated sugar
- 1 teaspoon table salt (we like saltier bread than most so I personally use 2 teaspoons sea salt)
- 1 cup + 2 cups all-purpose flour + more for kneading (you'll likely use 4 or more cups by the end)
- Oil or non-stick cooking spray
- Softened butter for spreading or topping
Instructions
- Set a stick of butter out to warm up so you have spreadable butter when your bread is done - nothing worse than forgetting and not having spreadable butter! ;)
- Add yeast to the warm water - again make sure it's not too hot or your yeast will die.
- Stir until yeast is mostly dissolved and allow to bloom (or sit) 5 minutes. The mixture should have bubbles on the surface. If it doesn’t, your water was too hot and killed the yeast or your yeast is dead and you need to start with a fresh batch, but at least you found out at the beginning! (See photo #1 below.)
- While the yeast mixture sits, place milk, butter, honey/sugar, and salt into a microwave-safe bowl/cup or saucepan. Microwave for around 1 minute according to how powerful your microwave is or heat over low heat on the stove. I like to cut the butter into small pieces before heating to make sure it all melts without the milk getting too hot. If the mixture is over 115°F or feels hot to the touch, you'll need to let it sit a few minutes to cool down.
- While the milk mixture cools down, add 1 whole egg and 1 cup flour to the yeast mixture and stir with a spatula or mix on level 2 of a stand mixer with a dough hook to combine. It doesn't need to be mixed perfectly like a cake batter. It will look shaggy.
- Once the milk mixture has cooled enough, add it to the flour/egg/yeast mixture. Add another cup of flour and mix with a spatula or on level 2 with a dough hook.
- Add a third 1-cup of flour and mix in. This should make the dough wet and sticky and still shaggy, yet pliable enough to start kneading (by hand or in the mixer). See photo #2 below.
- Flour your kneading surface lightly if kneading by hand - I like to use a non-stick silicone mat to help the dough stick less and have things be easier to clean.
- Knead the dough 6-8 minutes (4-6 in the stand mixer), adding a small amount of flour to the surface and/or your hands when the dough starts to stick. The amount of flour this will take will depend on the humidity of the day and even the flour you are using. Around the 6-8 minute mark, the dough should be noticeably smoother and be elastic (springs back when pulled). The dough should be soft and still slightly sticky. For mixer kneading, the dough should be forming a ball that clears the sides of the bowl - once done it should be elastic when you pull on it. If the dough is overly sticky when you do this, you need to add a bit more flour, about 2 tablespoons at a time.
- Take your clean rising bowl and coat with cooking spray or oil. Form the dough into a smooth ball by tucking the seam around a few times to the base. Place the bread "pretty" side down to coat with oil and then flip it so this side is now on top. This is so the dough doesn't dry out. When using the mixer, I just pat the dough down evenly and let it rise there - hooray for less dirty dishes! See photo #3 below.
- Cover the dough with a clean kitchen towel (you may want to slightly dampen if it's a really dry day) or plastic wrap. Let the dough rise in a warm area for around an hour or until doubled. If your house is cold, turn your oven on the lowest setting for a few minutes while kneading, then turn it off and add your dough container to rise.
- At this point, if you're not ready to use the dough once it has risen, you can either punch it down and let it rise again until you're ready, stick it in the fridge punching down as needed for up to 2 days, or freeze.
- After the dough has doubled, it's time to punch it down. Just make a fist and "punch" the dough until all the air is out.
- Shape the dough into rolls. Tip: If you want rolls that are in absolutely equal shape and size, you'll want to pat or lightly roll out the dough and then cut it into even square shapes. I'm lazy and imperfect so I expect the same of my rolls and just pinch off the dough in sizes as similar as possible.
- Take the piece of dough, grab an edge and fold it down to the bottom, repeating on all sides until you have a roundish shape with a smooth top. Place the roll in the pan with the unsmooth or "ugly" side down.
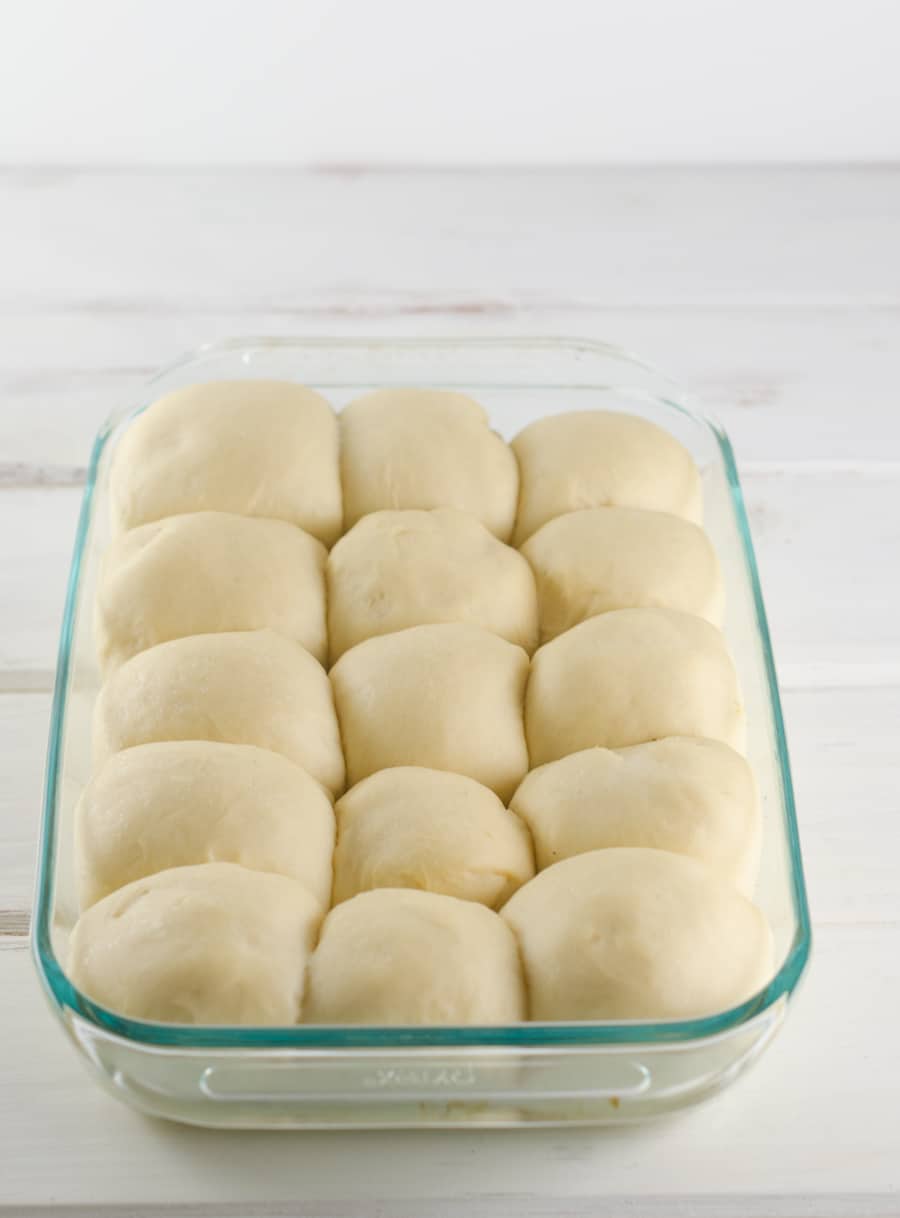
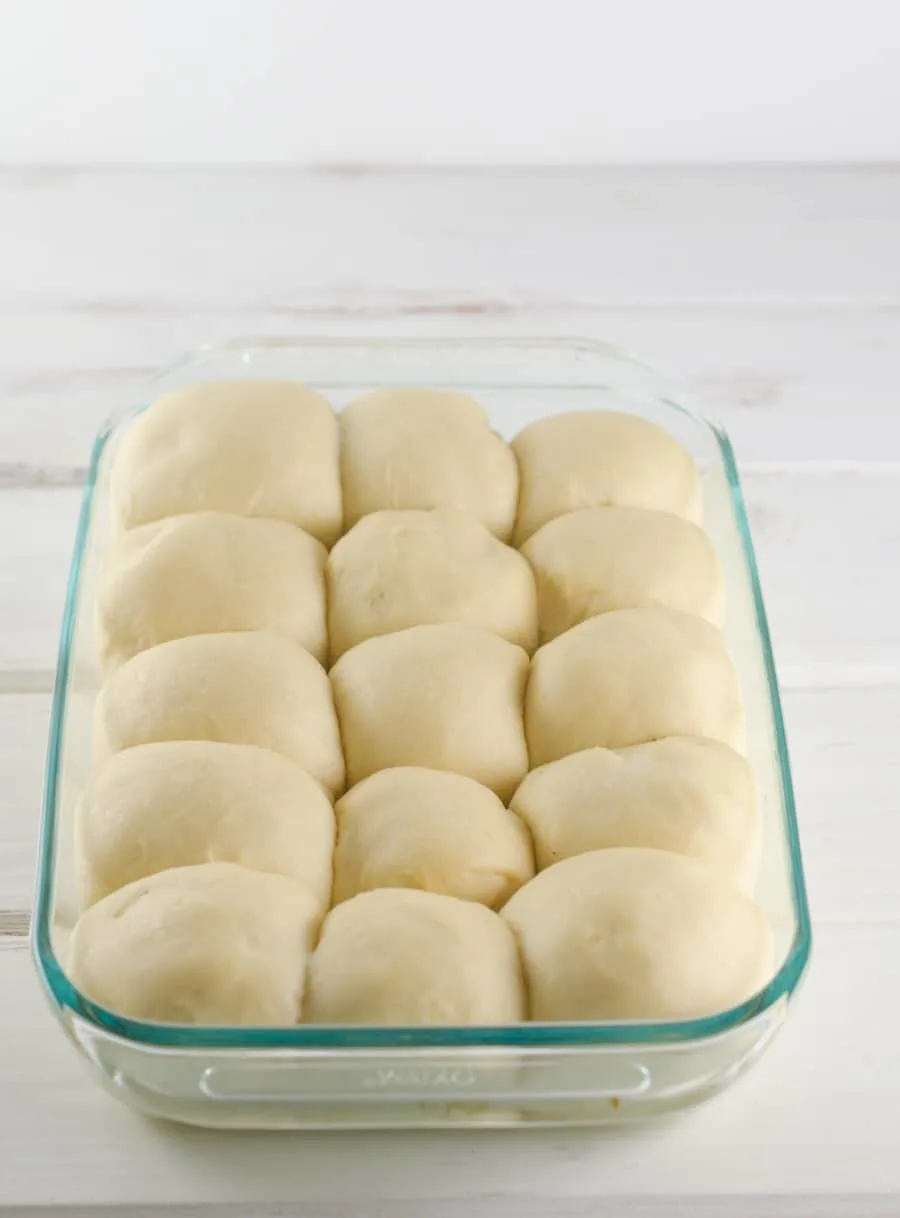
- A note on pans and crust - If you like a softer crust, I suggest placing them in a glass dish with high edges, like a 9x13. If you like a crisper crust, I suggest a metal half sheet or pan with low edges so the sides are more exposed during baking. Either way, make sure you leave about ½ to 1 inch between the rolls so they have room to rise and expand, with just enough space so that they will touch when fully risen. This will help them rise nice and tall and create that flaky pull-apart yumminess we all love.
- Once all rolls have been made, cover the pan with another clean towel or plastic wrap and let rise until double in size, about 1 hour.
- Make sure your oven rack is in the middle of your oven so the top and bottom can brown evenly. Preheat your oven to 350°F about 15-20 minutes before you're ready to start baking.
- Take the towel or wrap off your rolls and place in the oven and bake until done. Exact time will depend on how large you made your rolls and how hot your oven actually heats. Mine usually take 20-25 minutes. To be sure they’re done, you can use an instant-read thermometer and aim for at least 190°F.
- Once done, take your rolls out, allowing the pan to cool a minute and then immediately remove rolls from the pan so the bottoms don't get soggy. While waiting, you can melt some butter to brush on top, if desired. I usually use regular butter, but you can spice things up with garlic, onion, honey cinnamon or whatever sounds good to you.
- Congrats – you’ve made homemade yeast rolls and can enjoy your yummy masterpiece. Just don't blame me if everyone scarfs them down in minutes and you're looking at this recipe again tomorrow. ;) Enjoy!
Notes
First time working with yeast or making bread dough? Make sure to check out the recipe article link for tips, recommended equipment, ingredients, and more at https://smartsavvyliving.com/homemade-yeast-rolls-or-bread-recipe/
Nutrition Information:
Yield: 12 Serving Size: 1 RollAmount Per Serving: Calories: 159Total Fat: 6gSaturated Fat: 3gTrans Fat: 0gUnsaturated Fat: 3gCholesterol: 27mgSodium: 170mgCarbohydrates: 22gFiber: 1gSugar: 3gProtein: 4g
Nutrition information may not be accurate. Nutrition information is calculated automatically by and provided by Nutritionix. Exact nutrition information depends on the specific ingredients, brands, and amounts you use.


Norma Simpson
Thursday 24th of April 2025
When doubling the recipe, do you double the yeast ingredient as well?
Smart Savvy Food
Tuesday 20th of May 2025
Hi Norma, thanks for stopping by. Yes, if you double the recipe you want to double the yeast as well.
Norma Simpson
Friday 11th of April 2025
I absolutely love this recipe. I found it a few years back and stopped looking for other recipes. I love your step by step instructions, so easy to follow. The first few times I made rolls I followed them to a T. Now I just look at the measurements and away I go. Thank you, thank you...these are a hit it our home. Best rolls ever!
Smart Savvy Food
Wednesday 16th of April 2025
Thank you so much for taking the time to leave such a thoughtful comment, Norma. These truly make my day! I'm so glad you found success with and enjoy my rolls recipe and hope you continue to do so for years to come.
Denise Carlos
Wednesday 19th of July 2023
Thank you this website I've learned a lot of dishes I can make for my family and friends.
Smart Savvy Living
Saturday 5th of August 2023
Hi Denise, thanks for stopping by. I'm so glad you've found some recipes to enjoy with your family and friends.
Tracey
Saturday 24th of December 2022
I made this recipe about two weeks ago as a "trial run" to see how they turned out. They were just wonderful! So yummy! Making them again for Christmas dinner tomorrow. Thanks!!
Smart Savvy Living
Monday 9th of January 2023
I'm so pleased you enjoyed them and found them fitting for Christmas, Tracey! Thanks so much for trying my recipe and taking the time to share how it turned out.
Janice Williams
Saturday 17th of December 2022
Can I double this recipe using my mixer?
Smart Savvy Living
Tuesday 20th of December 2022
Hi Janice, thanks for stopping by. Being able to double the recipe using a mixer will depend on your mixer. You'll want to make sure that the bowl is large enough and the motor is powerful enough to mix the extra amount. If you give it a try, make sure you are watching the mixer the entire time it's kneading as the mixer itself may move around and you want to ensure the motor isn't straining too much. I'd also have the dough rise in a separate larger bowl after kneading. Hope this helps!